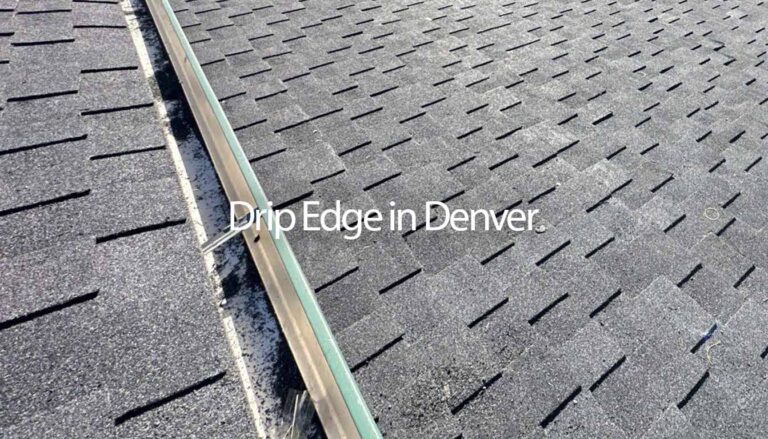
What is Drip Edge?
Drip edge is a type of metal flashing installed along the edges of your roof. Its main job is to keep water from seeping behind the gutters and under the roofing materials, which helps to protect the roof and the building’s structure. Drip edge is usually made from durable materials like aluminum, galvanized steel, copper, or vinyl.
A Guide to Drip Edge Types and Materials
Choosing the right drip edge is crucial when protecting your roof from water damage and enhancing its longevity. Drip edges are essential in any roofing system, designed to direct water away from the roof and prevent it from seeping into the structure. In this guide, we’ll explore the different types of drip edges—Type C (L-Style), Type D (T-Style), Type F (Gutter Apron), and Drip Caps—and the materials used to manufacture them. We’ll also discuss choosing the best option for your specific roofing needs.

Type C (L-Style)
Profile and Design:
The Type C, or L-Style, drip edge features an L-shaped profile with a 90-degree angle. This design includes a lower flange at the bottom, which helps to channel water away from the roof’s edge.
Best For:
This style is well-suited for low-slope and flat roofs, where the L-shaped profile can effectively manage water flow without needing a steep pitch.
Cost:
One of the most cost-effective options, Type C drip edges typically range from $0.30 to $1.00 per linear foot, making them a budget-friendly choice for many homeowners.

Type D (T-Style)
Profile and Design:
Type D, or T-Style, drip edge features a T-shaped profile with a lower flange. This design is specifically recommended by the Asphalt Roofing Manufacturers Association (ARMA) for residential roofs.
Best For:
It is highly effective at directing water away from the roof, especially on residential structures, which makes it a popular choice for homeowners looking to enhance their roof’s water management capabilities.
Cost:
Type D drip edges are slightly pricier than Type C, with costs typically ranging from $1.00 to $1.50 per linear foot. However, the improved water diversion can justify the extra investment.

Type F (Gutter Apron)
Profile and Design:
The Type F, also known as a Gutter Apron, has a longer leading edge that provides extensive coverage. This makes it ideal for use over existing shingles or on rake edges.
Best For:
Type F drip edges are famous for pitched residential roofs, where their extended edge offers robust protection against wind-driven rain and other elements.
Cost:
While the specific cost can vary, Type F drip edges generally fall within a similar price range as Type D, providing good value for their additional protection.

Z-Type Drip Edge: An Essential Addition to Your Roof
The Z-type drip edge has a Z-shaped profile, which is particularly useful when water needs to be directed effectively away from the roof’s edge while providing an additional barrier against moisture intrusion.
Best For:
Z-type drip edges are ideal for roofing systems where enhanced water protection is necessary, particularly in areas with high rainfall or where the roof design incorporates complex edges. This style is also beneficial for roofs with built-in gutters or where the roof deck requires additional protection.
Cost:
Depending on the material used, z-type drip edges are moderately priced, usually ranging from $0.75 to $2.00 per linear foot. While they may be slightly more expensive than L-style or T-style drip edges, their specialized design can provide significant value in the correct application.
Drip Caps
Profile and Design:
Drip Caps are a specialized drip edge that provides extra protection around doors and windows. They are designed to redirect water away from these openings, reducing the risk of leaks and water damage.
Best For:
Drip Caps are handy for low-slope and flat roofs where additional water management is needed around vulnerable areas like doors and windows.
Materials for Drip Edges
Choosing the suitable material for your drip edge is as important as selecting the right type. The most common materials include:
- Aluminum:
Aluminum is the most popular material for drip edges because it is lightweight, corrosion-resistant, and cost-effective. It’s also easy to work with and can be painted to match the roof’s color. - Galvanized Steel:
Known for its durability and resistance to wind, galvanized steel is a strong choice, especially in areas with severe weather. However, it may not offer the same aesthetic appeal as other materials. - Copper:
Copper drip edges are a premium option. They are highly durable and develop a unique patina over time. While more expensive, copper adds a distinctive look to any roof. - Non-Metallic Options (Plastic, Vinyl, Fiberglass):
While less common for roofing, non-metallic options are often used for windows and doors. These materials are corrosion-resistant but may not offer the same durability as metal options.
Choosing the Right Drip Edge
Selecting the best drip edge type and material depends on several factors, including your roof style, local climate, budget, and aesthetic preferences. For most homes, aluminum or galvanized steel will provide a good balance of cost, durability, and ease of installation. Copper is an excellent choice for those looking to make a statement with their roof, while non-metallic options may be best for specialized uses around doors and windows.
Installation Tips
Drip edge installation is typically done during roof replacement or as a separate project. While it’s possible to install drip edges as a DIY project, professional installation is recommended to ensure the best results. Proper installation is critical to the drip edge’s effectiveness in protecting your roof from water damage and extending its lifespan.
Materials
Drip edge can be made from several materials, each with its pros and cons:
- Aluminum is the most popular choice due to its flexibility, corrosion resistance, and painting ability.
- Galvanized Steel: Known for its durability, it may not be as visually appealing.
- Copper: A premium option that develops a beautiful patina over time, adding to the aesthetic of your home.
- Vinyl: Resistant to rust and tarnish, vinyl is less likely to accumulate debris.
Installation Methods
Proper installation of the drip edge is essential for it to perform effectively. Here’s how it’s typically installed:
- Along the Eaves: Install the drip edge before the underlayment is laid down.
- On the Rakes: After the underlayment is in place, install the drip edge along the rakes.
- Overlap Pieces: Each piece should overlap the previous one by about an inch to ensure a seamless barrier.
- Nailing: Secure the drip edge with nails spaced every 12 inches but no more than 16 inches apart.
- Corners and Peaks: Make precise cuts to ensure a snug fit at corners and peaks.
Costs
The cost of installing a drip edge can vary depending on whether it’s a new roof or an existing one:
- New Roof Installation: $1.50 to $5.00 per linear foot.
- Existing Roof Installation: $5 to $12 per linear foot due to the added complexity.
- Average Total Cost: For 100-200 linear feet, expect to pay between $150 to $900.
Benefits of Drip Edge
Investing in drip edge comes with several benefits that contribute to the longevity and appearance of your roof:
- Prevents Water Damage: Protects the fascia and roof decking from water infiltration.
- Water Direction: Effectively channels water away from your building, reducing the risk of leaks.
- Pest Protection: Helps to block pests from entering through gaps in the roofline.
- Enhanced Aesthetics: Gives your roof a finished, polished look.
- Extends Roof Life: Drip edges can help extend the life of roofing materials by protecting critical areas.
FAQs
Do building codes require drip edge?
Yes, residential building codes require drip edges in many areas to ensure adequate protection against water damage.
Can drip edge be installed on an existing roof?
Yes, it can, though the process is more complex and costly than installing a new roof.
How long does the drip edge last?
When properly installed, the drip edge typically lasts as long as the roof.
Tips
- Check Local Building Codes: Always verify local requirements to ensure compliance.
- Material Selection: Choose a drip edge material that complements your roof and the local climate.
- Proper Overlap: Ensure that each piece overlaps the previous one adequately and is appropriately sealed at joints.
- Professional Installation: While DIY is possible, professional installation is recommended for the best results and code compliance.
- Regular Inspections: Include drip edge inspection as part of your routine roof maintenance to catch any potential issues early.
Proper installation of the drip edge is crucial for its effectiveness. Although it can be a DIY project, many homeowners opt to have it installed by professionals for peace of mind and to meet local building codes.
Free Roof Inspection by Denver Roofing & Construction
At Denver Roofing & Construction, maintaining a sturdy and reliable roof starts with a thorough inspection. That’s why we offer free roof inspections to homeowners and businesses throughout Denver. Our experienced team will carefully assess your roof, identify potential issues, and provide a detailed report. Whether you need advice on drip edge installation, roof repairs, or a complete replacement, our no-cost inspection ensures you have all the information you need to make informed decisions about your roof’s health. Contact us today to schedule your free inspection and protect your home from costly damages.